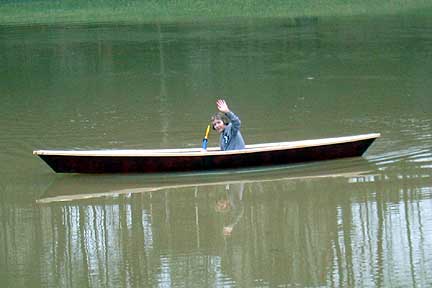
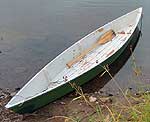
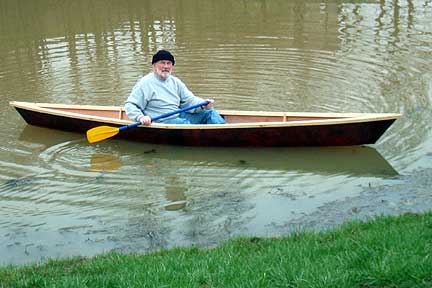
We launched Zac in the boat for its successful sea trials. (Grant misplaced our kayak paddle. Maybe it's in the Four Winns. For now we'll use this one.)
After Zac proved it wouldn't sink, Grant took a short cruise,
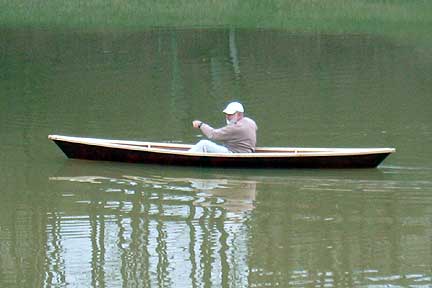
. . . followed by Larry.
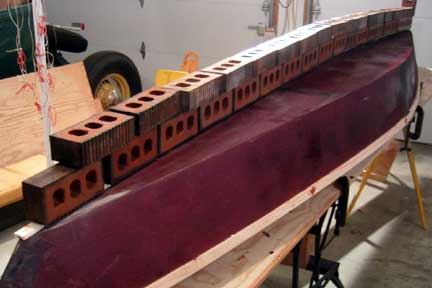
As suspected, the boat really needs a keel. So back at the shop, we trimmed the three strips previously scarphed together and, after roughing up the centerline with sandpaper, used epoxy to adhere the first of the three layers to the hull. Bricks hold the strip in place 'til the epoxy cures.
Grant will use Titebond to glue the next two layers on the first, then we'll tape and 'glas the keel.
Monday, March 31
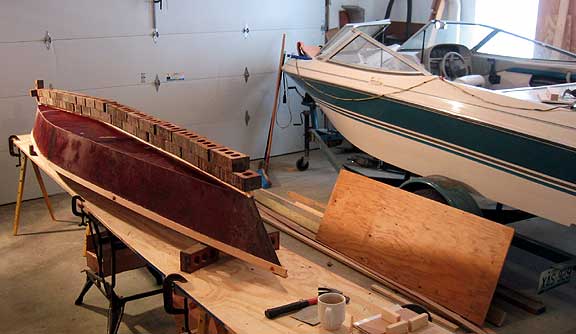
About 4:00 pm, Grant glued the second layer to the first and stacked the bricks on the keel again.
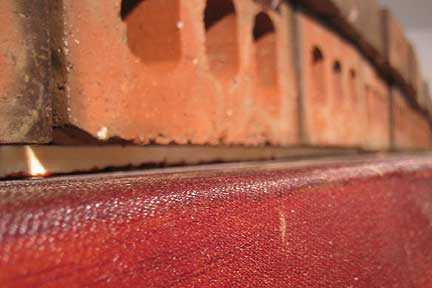
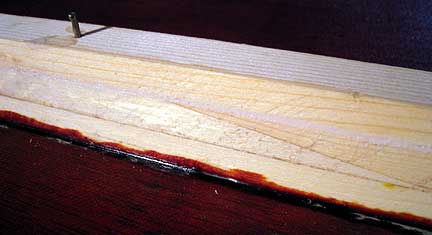
He removed bricks to wipe off excess glue, then stacked them on the keel again. The red arrow on the left points to a scarph joint. There are many in these three strips, about four per strip. The red arrow on the right points to one of five small nails keeping things in alignment.
After the third and final layer is glued on, we'll trim the keel, then add tape and resin.
Tuesday, April 1 -- No foolin'
Grant glued the final layer atop the first and second, tacked it in place and stacked the bricks on the keel again.
Hitech clamping system in use. Next step is to trim the keel, 'glas tape and resin it. Then it's on to designing electric motor mount, steering etc.
Let's not forget The Alpine Shop holds its "You Can Paddle" day at Creve Coeur Lake on Saturday, May 10 this year. Grant says it's a fun time. We should take our new boat and show 'em how fast it goes. (Shhh . . . don't mention the motor. We're not sure they're legal on that lake.)Saturday, April 5
Today we trimmed the keel ends, sanded the keel and applied 6 oz. tape and resin to the keel. The tape did not conform to the edges of the keel, even though its sharp edges were knocked off with sandpaper. Grant says we made a 12 ft. long "bubble." Stay tuned . . .
Sunday, April 6
The resin hadn't cured by early Sunday morning and the "bubble" has grown around the sides of the keel. Grant moved the boat out on the front lawn. Temps. in the 70's today.
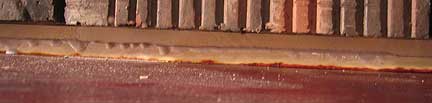
Here's a "close-up" of our 12' long bubble.
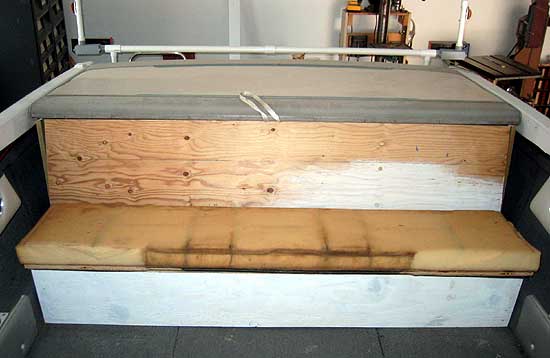
Grant did a little work on the new rear seat for the 17' Four Winns I/O. Here he "tried in on for size and fit." Satisfied, he added a ledge for the fwd. edge of the engine hatch to rest on, located and cut holes for the loudspeakers (not shown), and came up with another idea for better seat back support -- which will provide speaker enclosures and will more firmly anchor the seat in the boat. We're almost ready to take panels to the upholstery shop.
April 7-11
Grant bought two quarts of "Valspar" paint at Lowes. Colors are shown at left.
And he searched for some missing aluminum to use for a tiller "crank" to steer the trolling motor, but it's still missing. However, neighbor (and welder) Don Wakefield told Grant he had observed our "sea trials" and offered a piece of aluminum to make the "tiller crank." Grant gave him a drawing of what's needed and Don said he wanted to fabricate the whole thing. The throw will be 5 inches and the aluminum plate will be bolted to the pot metal piece w/thumbscrew that came with the motor. Don gave it to Grant on Grant's Friday (4/11) morning walk:
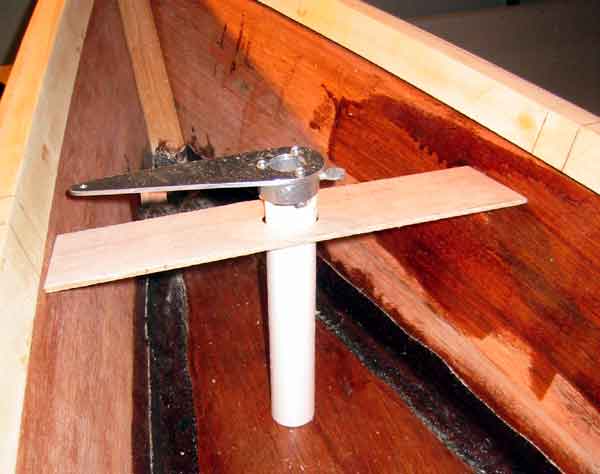
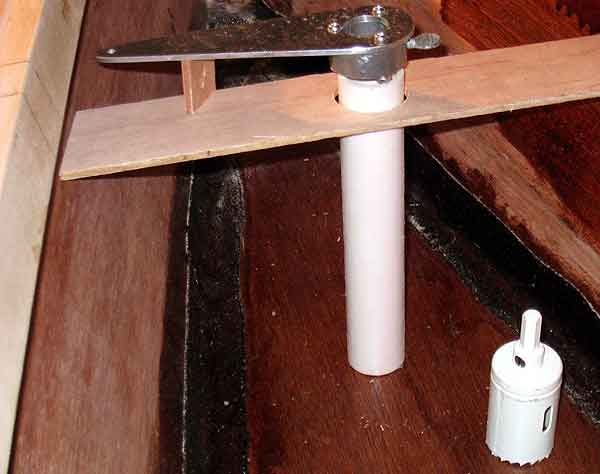
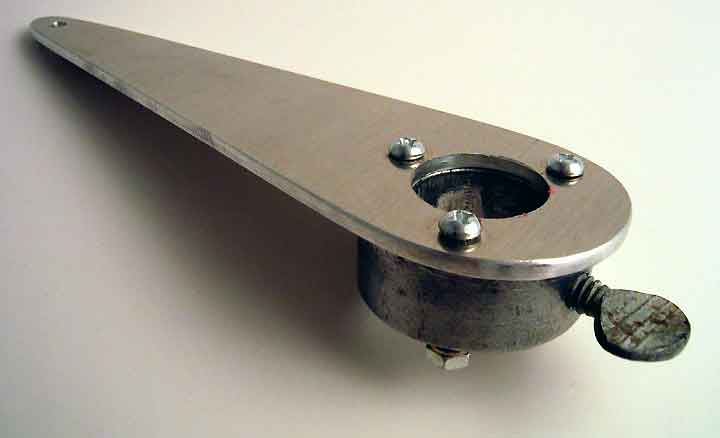
This is the homemade tiller "crank" Don made for our new little boat.
It measures 5" hole-center to hole-center, and
fits atop the electric motor's thru-hull mounting shaft.
A long (4') piece of 1/2" schedule 40 (stiff) PVC tube connects
to small hole, permitting the operator (or "Captain") to
steer the boat by moving the "tiller tube" fore and aft.
(The Captain can also perform marriages, we believe.)
April 13 - Sunday
Not much accomplished today. Grant mocked up the motor mount for size and location of components and did a little shaping of gunwales. Also did some test painting -- to see if we'll need to fill the weave of the fiberglass cloth.
Monday, April 14
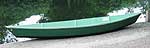
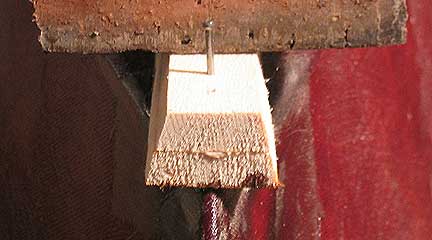
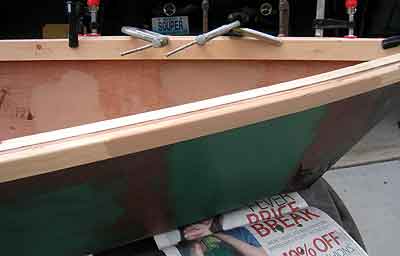
After moving the boat outside, Grant did some serious shaping of gunwales with Terry's belt sander. One end of the boat now looks great. The gunwales and stem top of the "good" end have all been sanded (50 grit) and will finish up nicely. (This is the not the "good" end of the boat pictured.) The other end (which is probably the stern, where the motor will be mounted) needed a filler strip on one side of the boat, so Grant made a small strip and glued it in place. He'll sand it to shape tomorrow, after his Tuesday lunch. He also brushed on some more of the green hull paint.
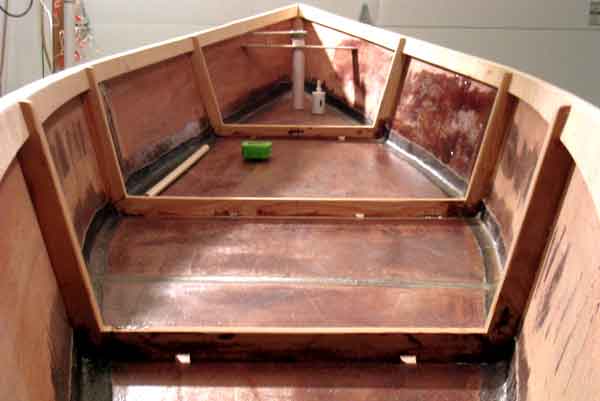
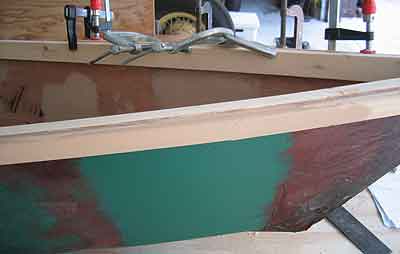
Moved back inside. Notice the tan paint on the gunwale and on the inside of the hull.
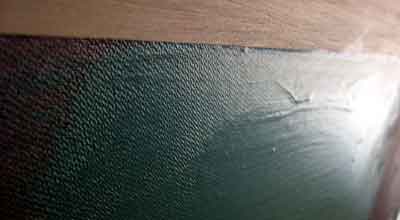
Grant now thinks the paint will fill the weave of the 'glas cloth if a few heavy coats of paint are brushed on -- and sanded between coats. Here a few coats have been applied -- with no sanding between coats. Grant needed some luan for his other boat project anyway, so will probably use the remainder to make small decks for the bow and stern on this boat.
Looking for more information about "fiberglas" or "fiberglass" or "resin?"
Be Our (and Google's) Guest:


 The resin hadn't cured by early Sunday morning and the "bubble" has grown around the sides of the keel. Grant moved the boat out on the front lawn. Temps. in the 70's today.
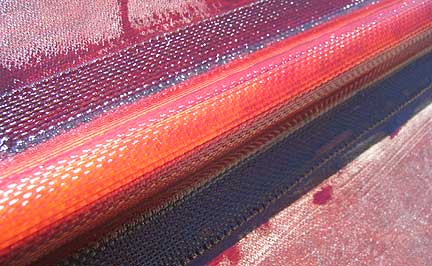 Here's a "close-up" of our 12' long bubble.
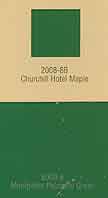 Grant bought two quarts of "Valspar" paint at Lowes. Colors are shown at left.
 This is the homemade tiller "crank" Don made for our new little boat.
It measures 5" hole-center to hole-center, and
fits atop the electric motor's thru-hull mounting shaft.
A long (4') piece of 1/2" schedule 40 (stiff) PVC tube connects
to small hole, permitting the operator (or "Captain") to
steer the boat by moving the "tiller tube" fore and aft.
This is the homemade tiller "crank" Don made for our new little boat.
It measures 5" hole-center to hole-center, and
fits atop the electric motor's thru-hull mounting shaft.
A long (4') piece of 1/2" schedule 40 (stiff) PVC tube connects
to small hole, permitting the operator (or "Captain") to
steer the boat by moving the "tiller tube" fore and aft.
 After moving the boat outside, Grant did some serious shaping of gunwales with Terry's belt sander. One end of the boat now looks great. The gunwales and stem top of the "good" end have all been sanded (50 grit) and will finish up nicely. (This is the not the "good" end of the boat pictured.) The other end (which is probably the stern, where the motor will be mounted) needed a filler strip on one side of the boat, so Grant made a small strip and glued it in place. He'll sand it to shape tomorrow, after his Tuesday lunch. He also brushed on some more of the green hull paint.
 Moved back inside. Notice the tan paint on the gunwale and on the inside of the hull.
 Grant now thinks the paint will fill the weave of the 'glas cloth if a few heavy coats of paint are brushed on -- and sanded between coats. Here a few coats have been applied -- with no sanding between coats. Grant needed some luan for his other boat project anyway, so will probably use the remainder to make small decks for the bow and stern on this boat.
