| |

VROOM!
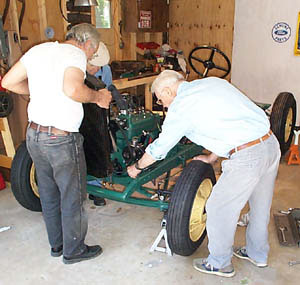
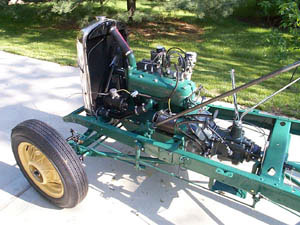
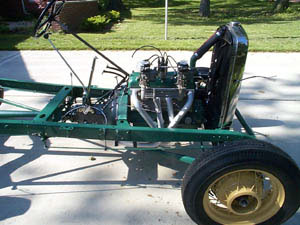
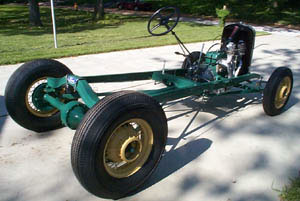
May 10, 2002 -- I just got back from Grant's. We put his "Cream Puff" nostalgia rod running gear together today. Engine into frame, transmission on, rear axle under the and front end. Put wheels on it and steering gear and brake shaft and the rods for "Souper" brake action. Radiator and most wiring installed but need a good original terminal box. Hope to find some at the swap.
Next he needs to get the Brookville Roadster pickup body painted, add a battery and he's ready to roll! Did the whole assembly with no hoists, just 4 jack stands and set the frame "over and in front of" the rear engine mounts, pulled frame rearward into the mounts and used the frame as a "lever" to lift the engine to put the front end under it. Added the transmission assembly. Then picked up the rear cross member and rolled the rear end to hook up the U-Joint. Made believers out of Grant, Ray Sisson and Howard Henderson that no equipment is required for the put-together. I think we'll package these things up and say "Some assembly required!"
-=Terry=-
Grant's Notes:
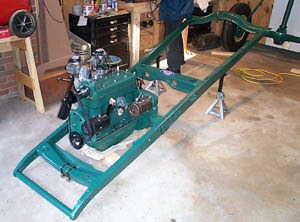
- Using a rented "Cherry Picker," I had unloaded the assembled engine from the back of my van and set it on some wood blocks on the floor of my garage. The pan is plenty strong enough to support the engine with its flywheel and clutch.
- I installed the two rear engine mounts on the frame using new rubber pads, nice "28-29" forged plates I got from Terry, new nuts, bolts and tubes. I mounted the bolts "backwards" -- with the castle nuts inside the frame -- making a "cleaner" looking installation. Kinda a pain to install the cotter keys, but I like the finished look. By the way, there were no cotter keys in the "bolt kit." Another "by the way" -- a little Palmolive dish soap sure simplifies installing the tubes in the rubber pads.
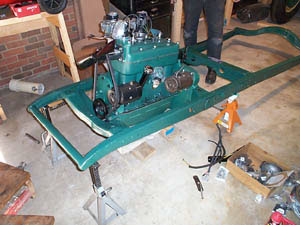
- Two of us lifted the frame and put it over the engine. Because of the big tube headers on my engine, this was not quite as easy as if it would be on a stock engine, but quite easy never-the-less.
- We used a small "bottle jack" with a piece of "2 x 2" to spread the frame a bit. (A bottle jack prefers a vertical orientation, but it worked OK.) The jack was used just aft of the rear motor mounts.
- We put a little grease on the flywheel housing flats (where the housing mates with the motor mounts) and slipped the frame forward untill the upper holes on the flat were aligned with the upper holes on the engine mounts and installed ONE bolt on each side.
- TO BE CONTINUED . . .

|
|