|
1981 18' Century Resorter The Interior -- Page 6
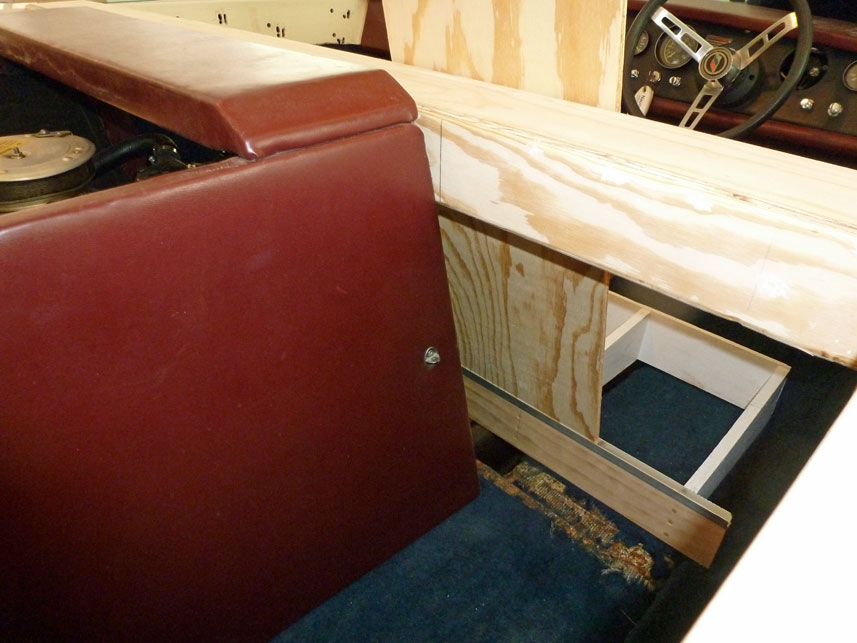
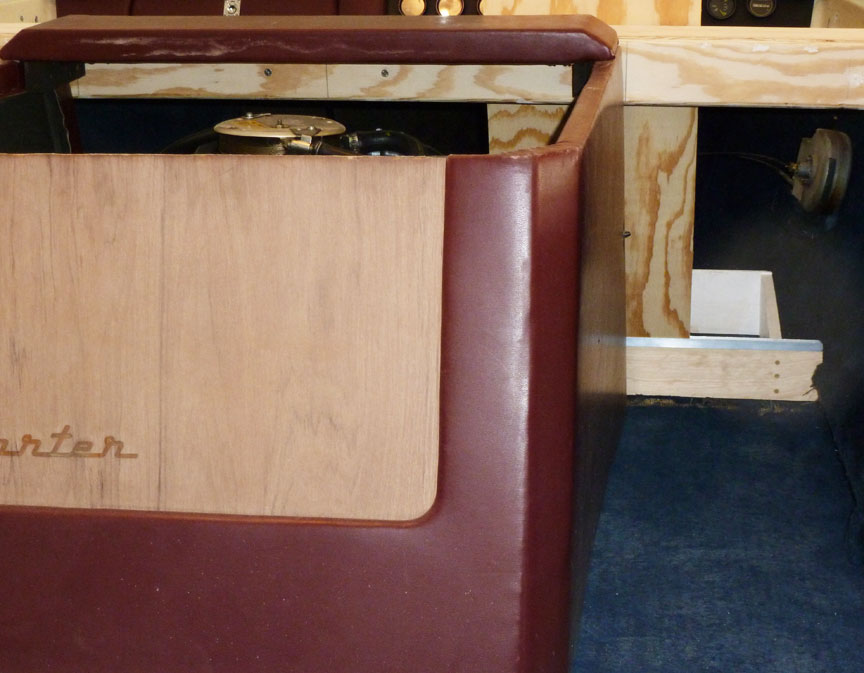
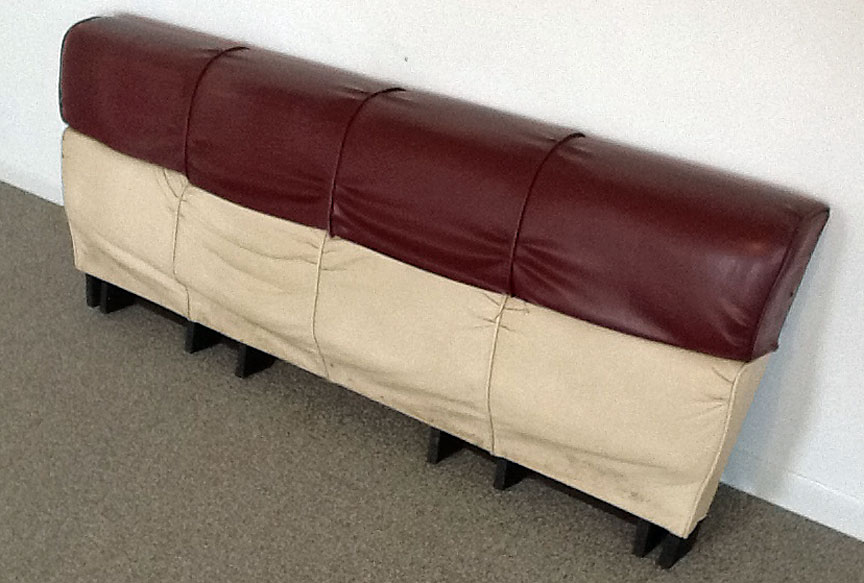
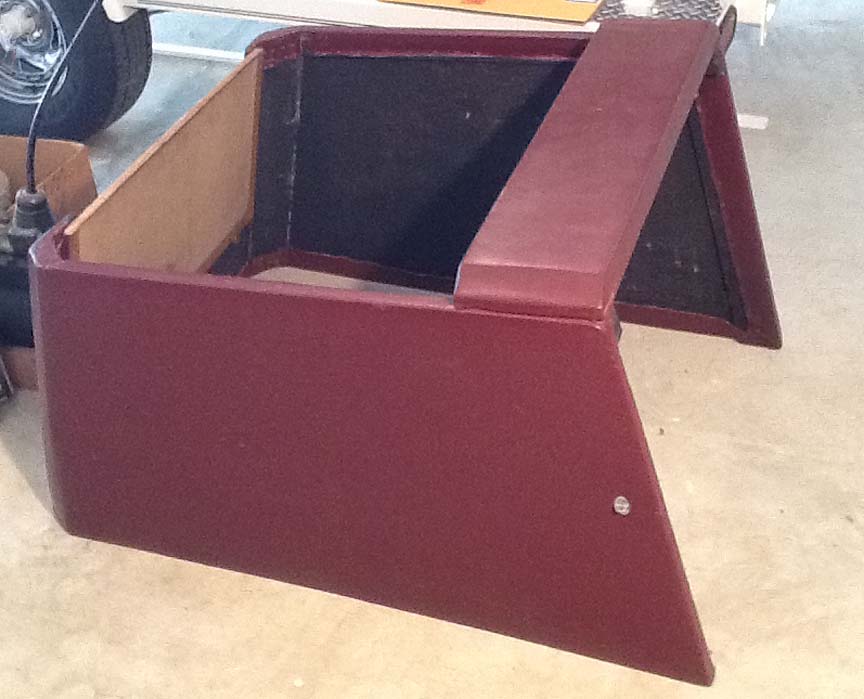
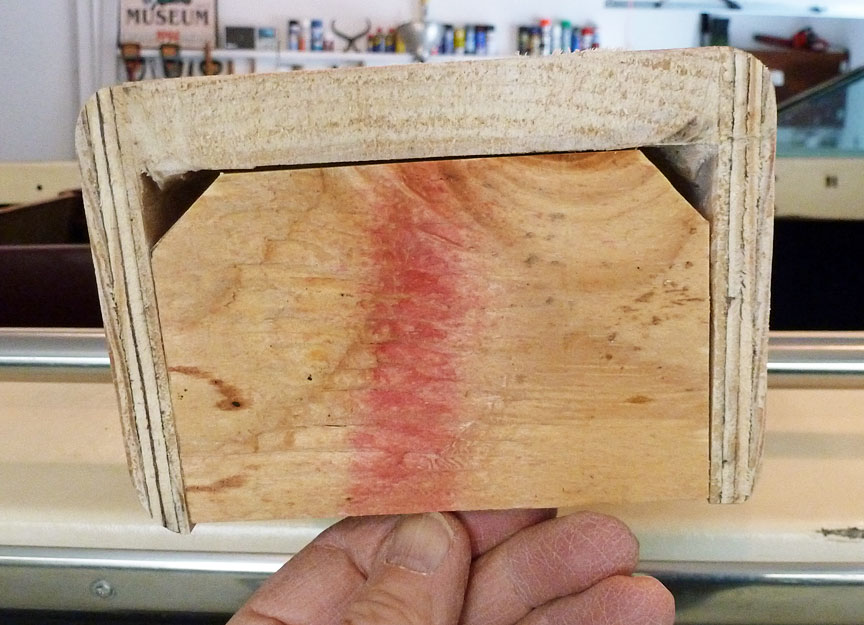
Click on any photo for a larger image. (2/22/12) Here is the "old" back of front seat. It has been separated from the rest of the front seat's structure, and will be replaced with a "new" back of my design. This will allow much easier access to the engine, and (I think) lighten the boat a bit. It will certainly lighten the load I need to lift out of the boat for service access to both the engine and instrument panel.
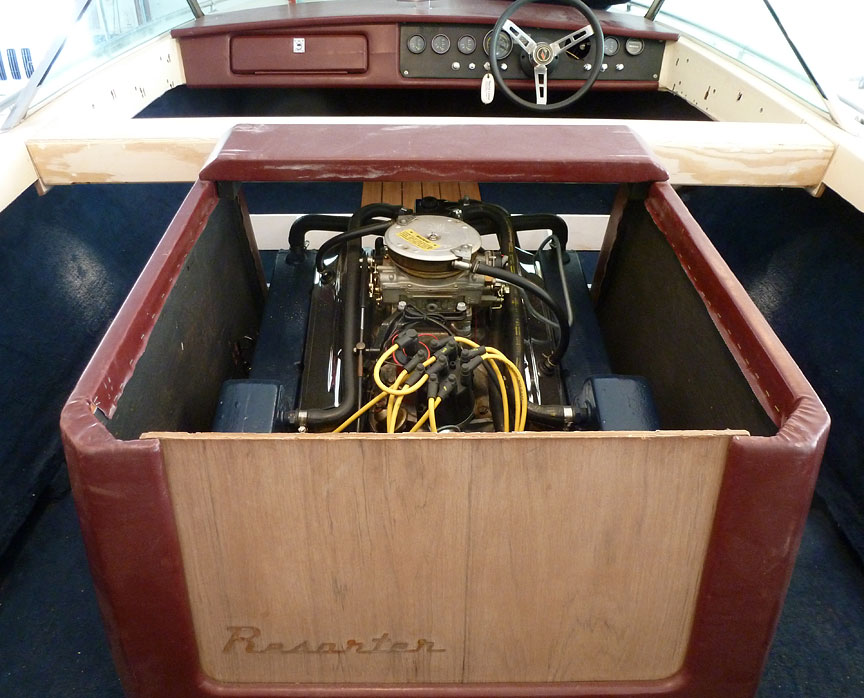
(2/22/12) And hear is the "old" engine box. It will have to be lengthened about 3.5 inches, and will connect securely to the front seat's back, providing support to the seat back when in place and secured. The top of the new box will be a removable "cushion" and, like the original design, provide quick access and temporary "ventilation" of the engine.
(2/22/12) In the pile below:

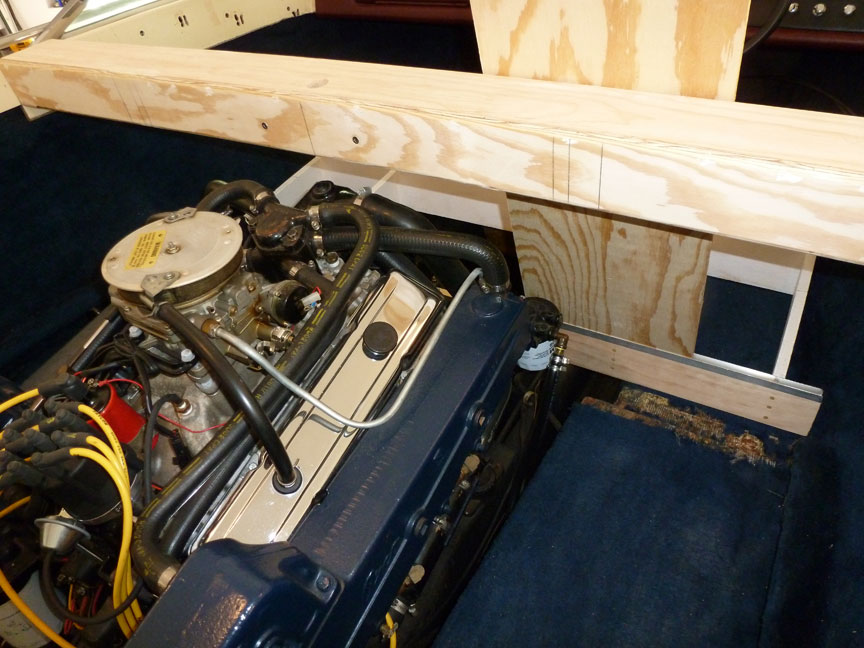
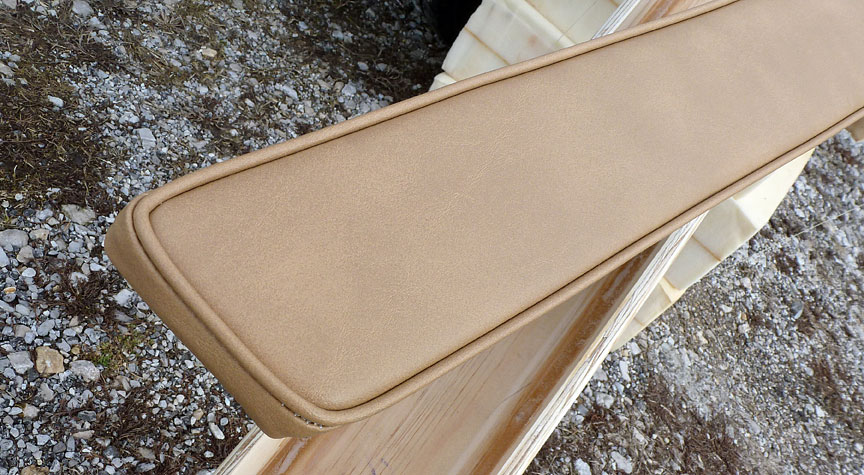
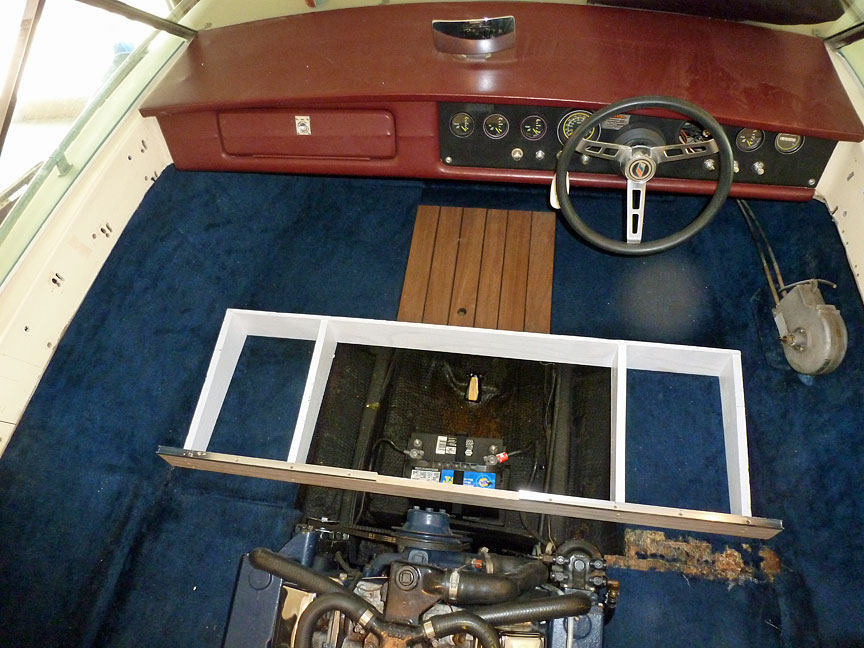
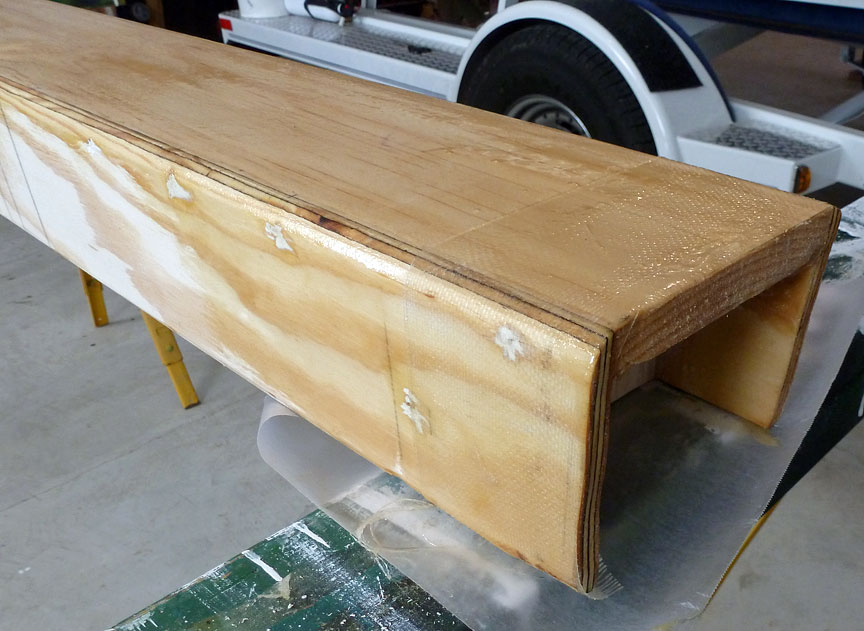
Next, Plywood "beam" will be structural, supporting back of front seat and the water ski tow ring. Joe and I discussed how he will upholster it, esp. ends, so I can finish fitting to boat. I'll have that finished tomorrow. This beam also determines how front of engine box fits in boat. Now I know, so will get the box revised this weekend. I'm also making the top of the box a "seat."
Bottom of pile: Foam and old upholstery fabric (to inform Joe of various thickness requirements.) I am making seat more firm and backs thinner. We needed to understand each other, and I'm sure we do. This stuff goes in trash Monday.
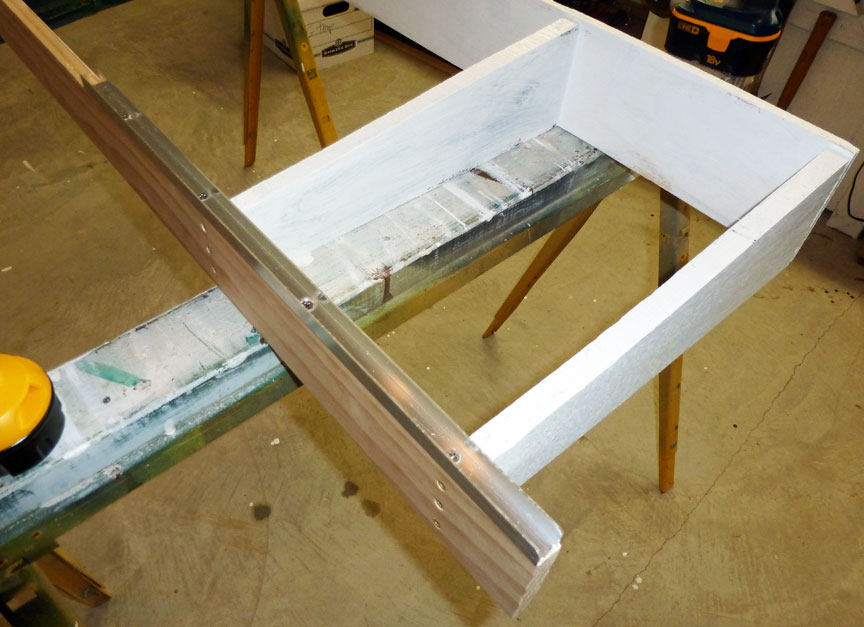
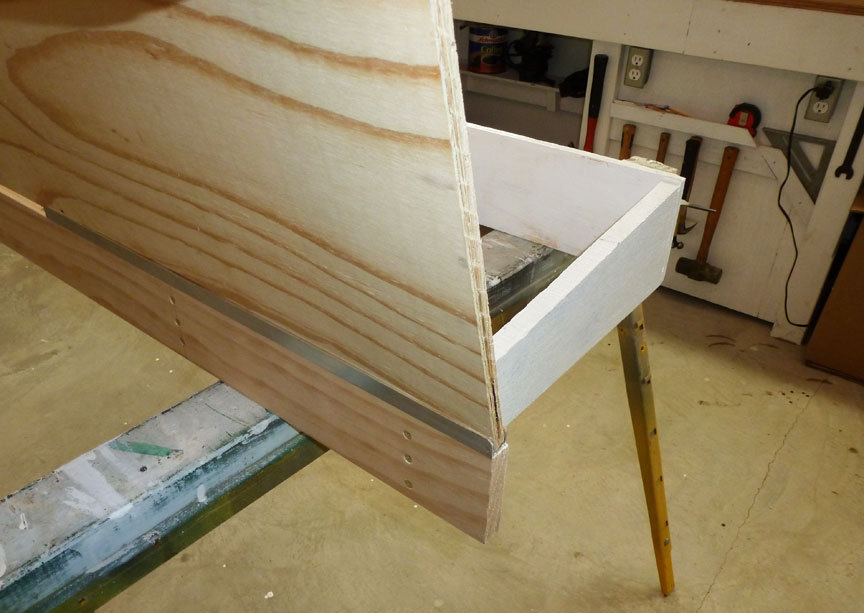
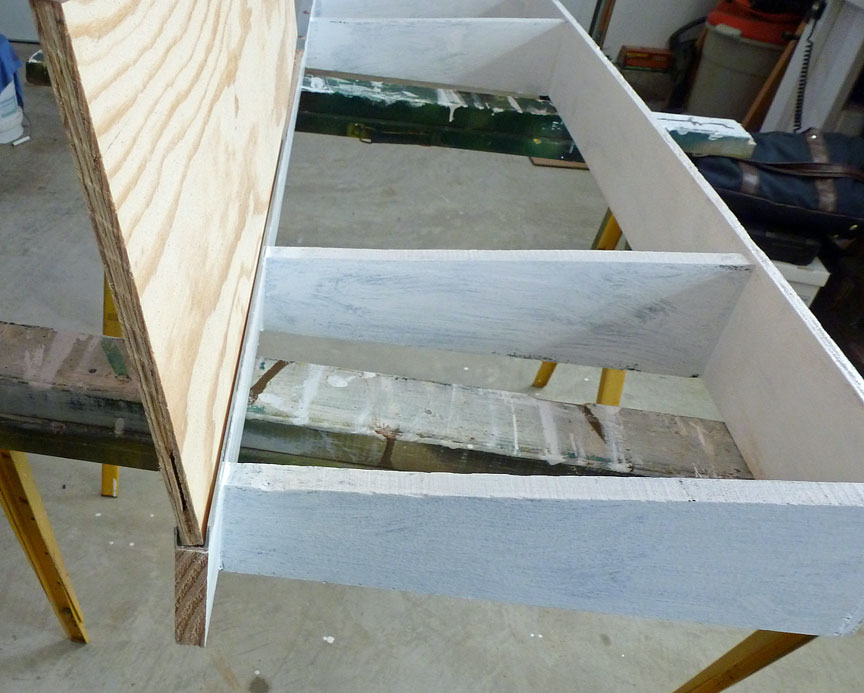
These 4 photos show the detail of how the front seat back will be supported in aluminum channel at its bottom edge. The actual (1/2") back is being upholstered.
(2/23/12) Accomplished a lot today. Played with some mockups of front seat, the new "beam" and the engine box:
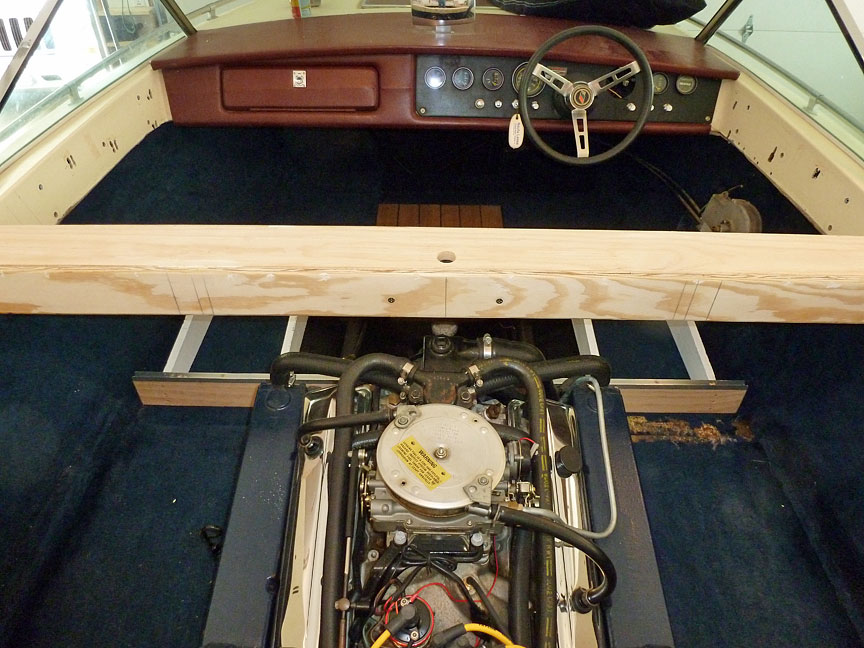
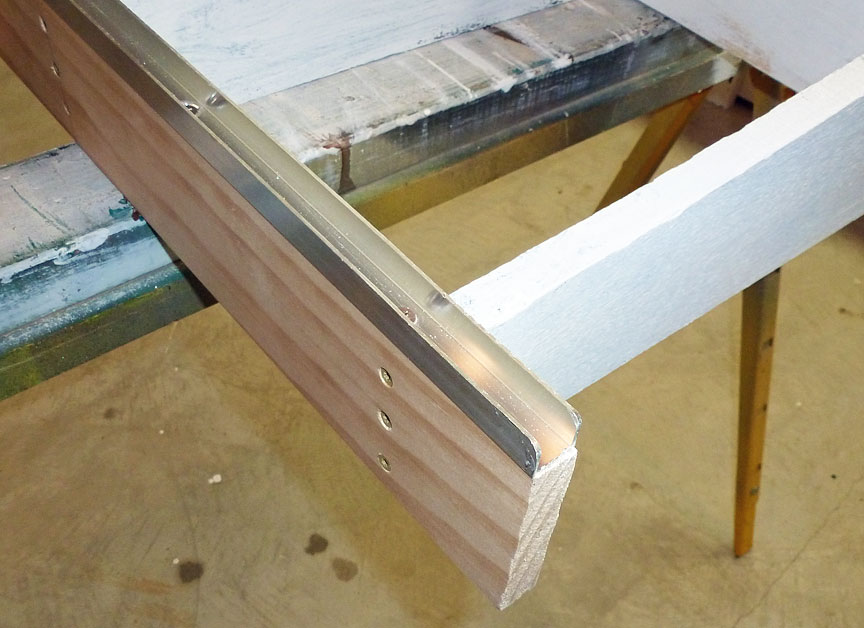
Carefully measured, cut and fit the beam, allowing for six layers of vinyl at beam ends. (Per discussion yesterday.) Then "trial fit" old engine box to beam by mocking up front seat, beam and engine box. (The actual front seat back is being upholstered.) Made (first 3/4 inch layer of) beam supports and dry fit them, supporting beam. Then sanded gelcoat where supports attach to gunwales. Located and attached supprts with thickened epoxy, held in place during curing with one screw each. The second 3/4 inch layers have been made and will be attached to first layers with epoxy, probably tomorrow. Had a lot of epoxy left over, so used it to fiberglass tape beam ends. Photo on the left shows one of the 3/4 inch supports.
Here are photos of the mockups with beam at "final" height. Looks like the engine box will not have to be "notched" as much, nor lengthened much as first imagined.
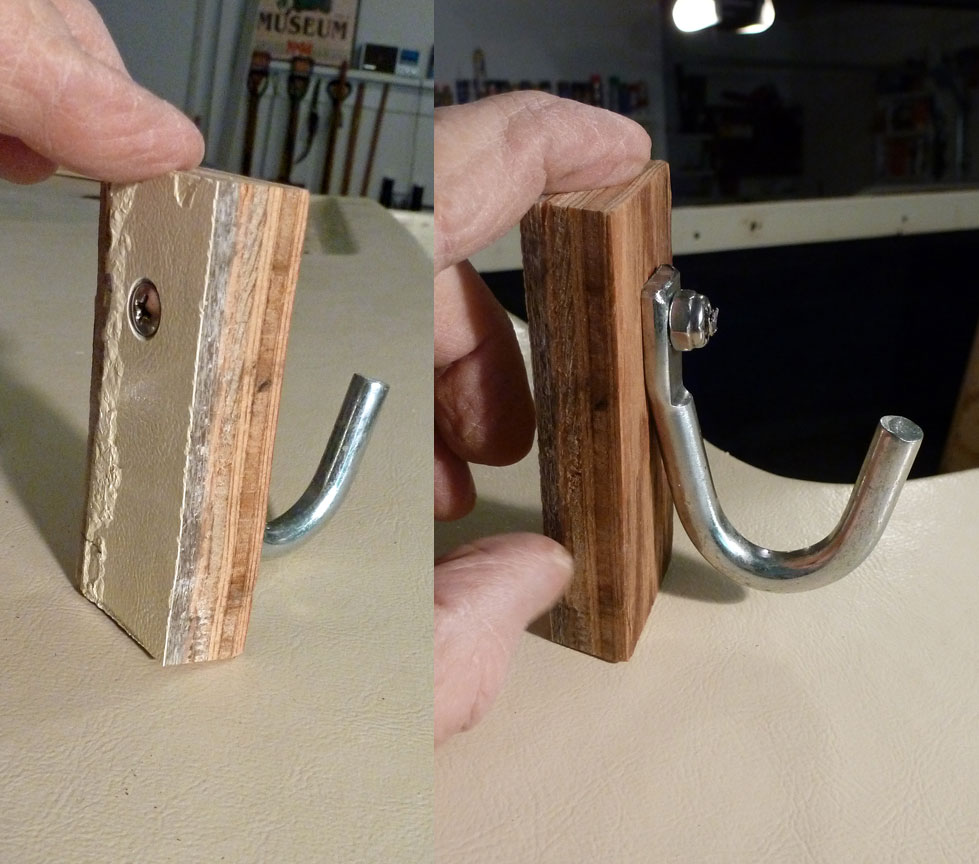
Four hooks will be hidden from view, but available for hanging coiled mooring lines. Am quite sure motorbox top will be two sections, both will be topped with 2" upholstered foam. (Two pieces for ease of handling.)

HOME Another pretty good web page by Grant MacLaren
|