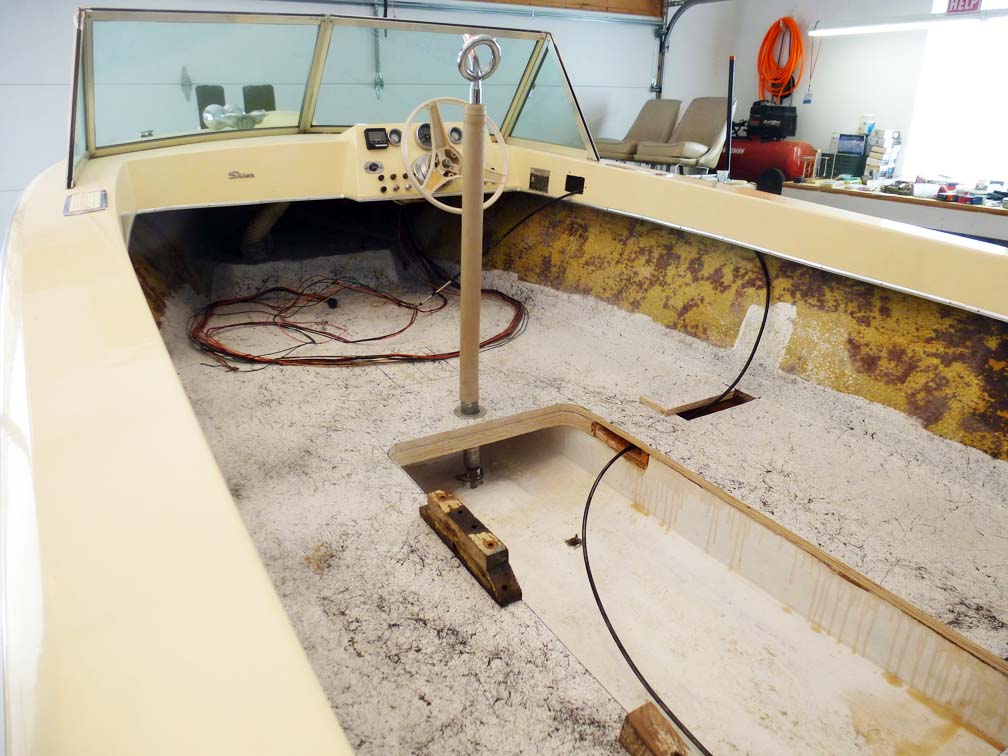
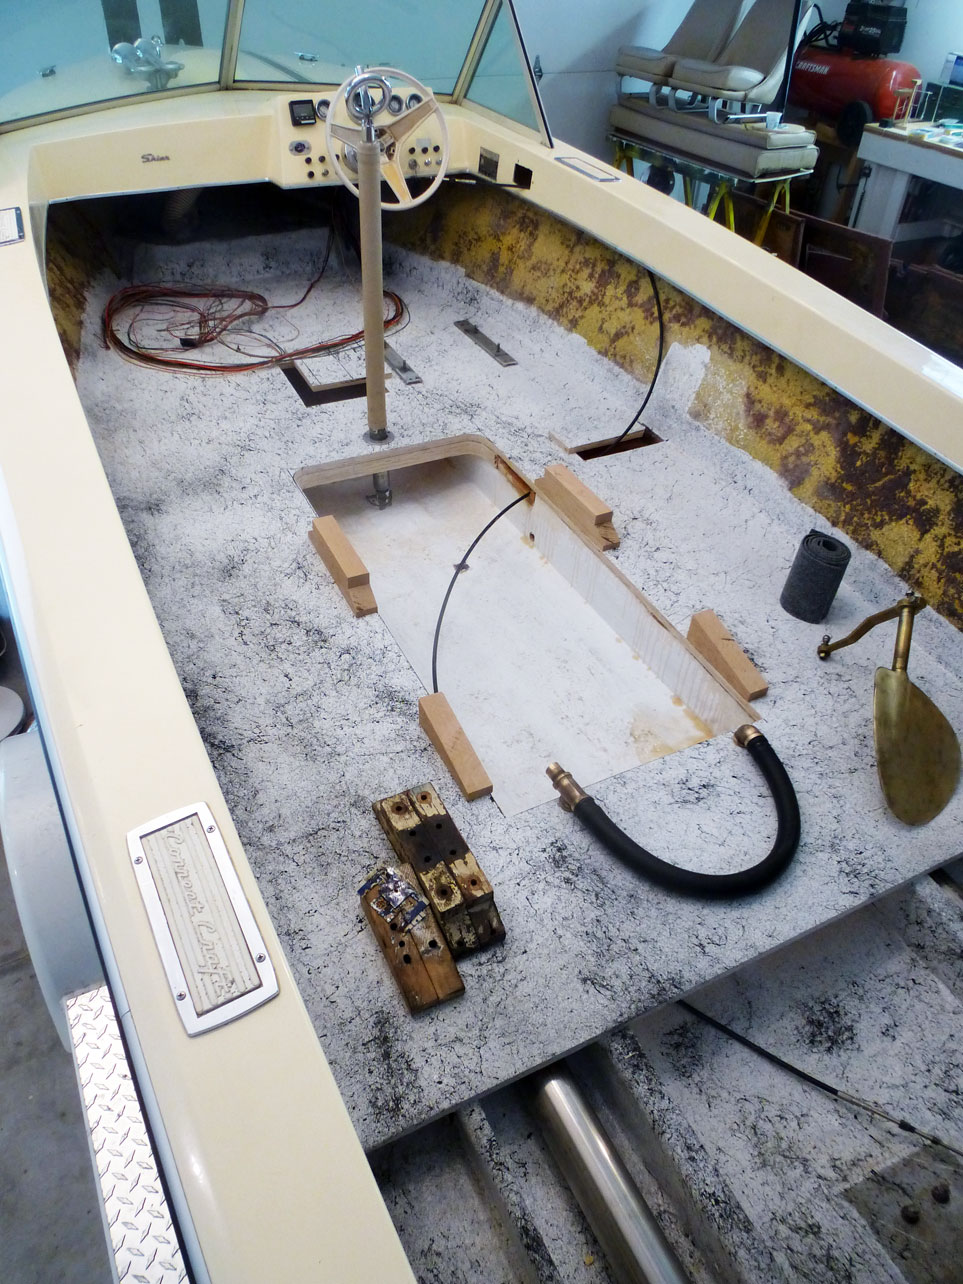
Located and cut hole (thru 3 layers of 3/4 ply, laminated) for ski pylon to be anchored in original base.
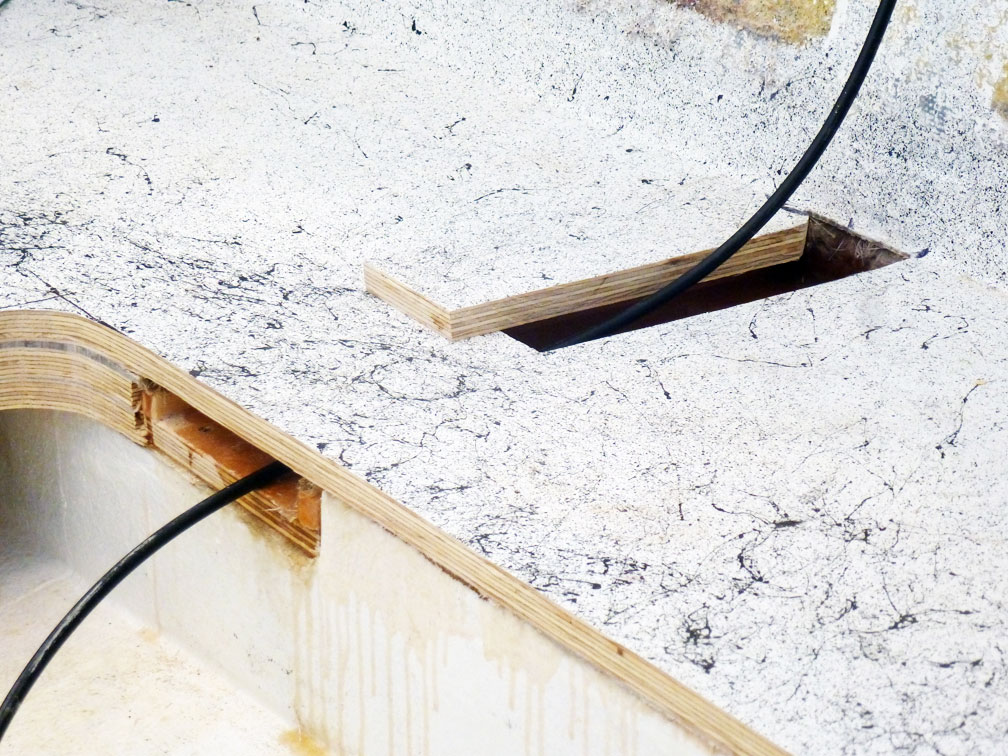
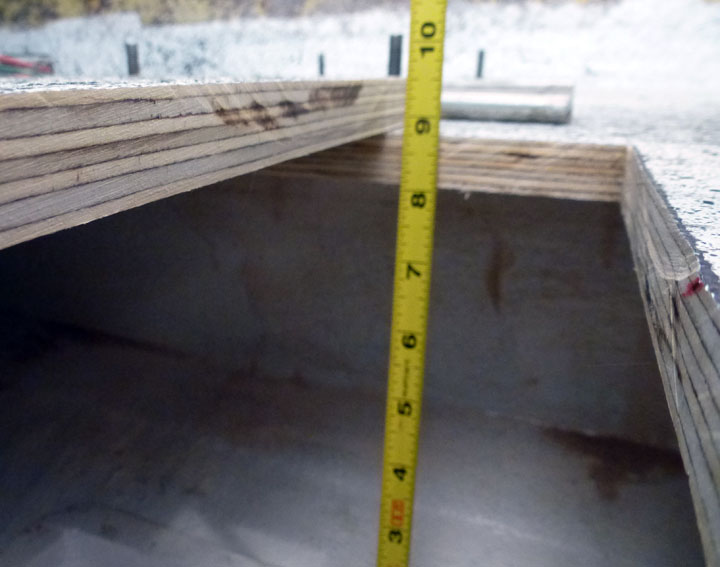
Made an access panel for routing throttle/shift cables. Panel will rest flush with floor on narrow ledges, and be
covered with glued-in carpet.
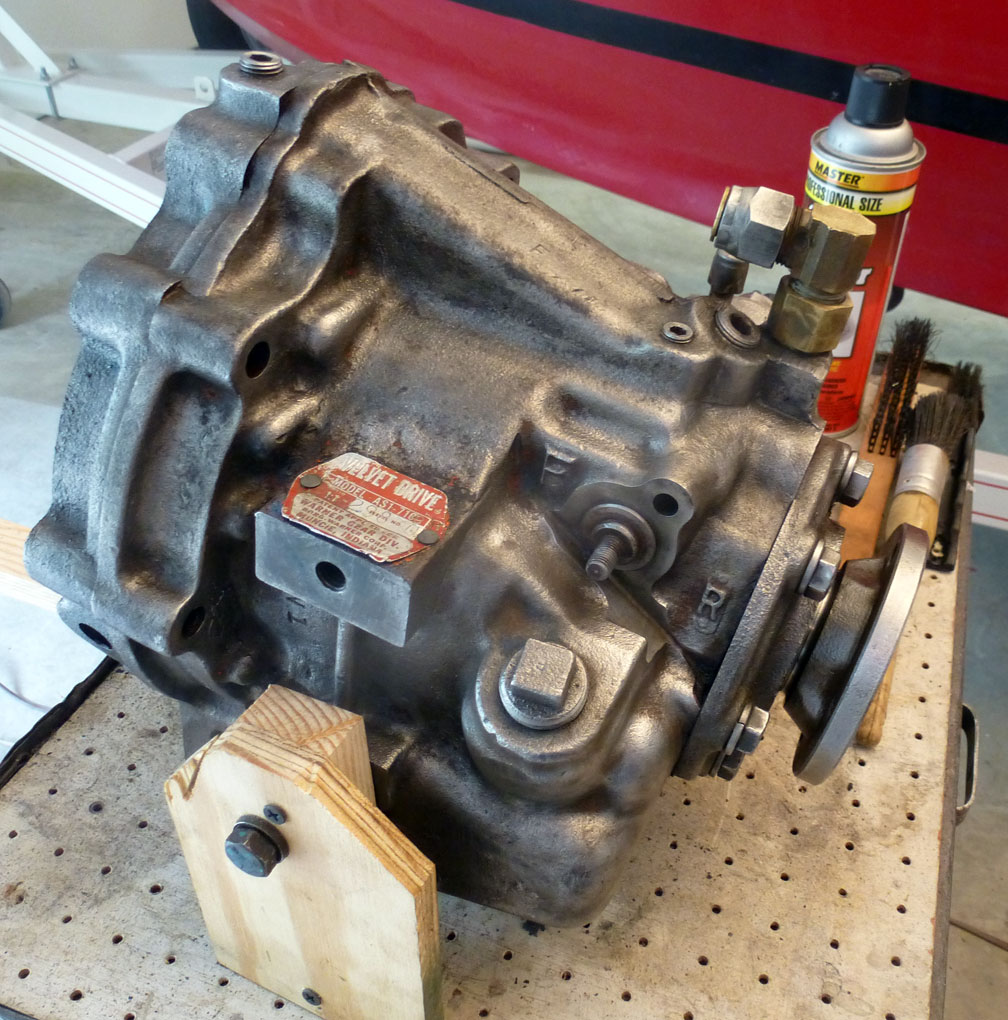
Purchased 2 bd ft 5/4 white oak to make four new motor mounts. (Two old mounts pictured.)
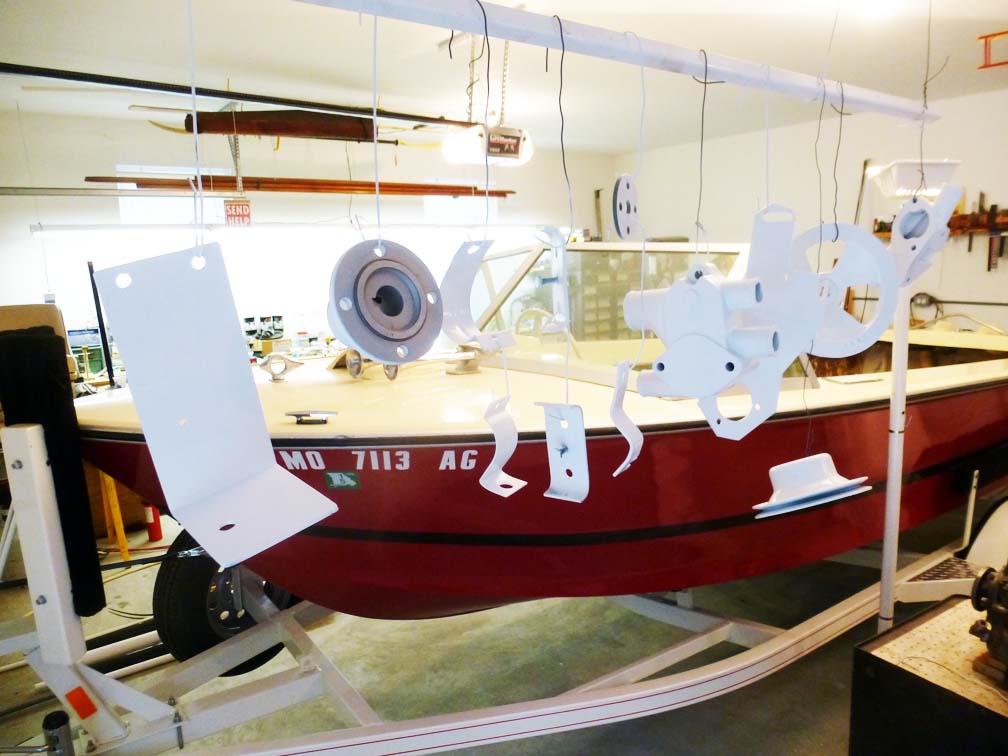
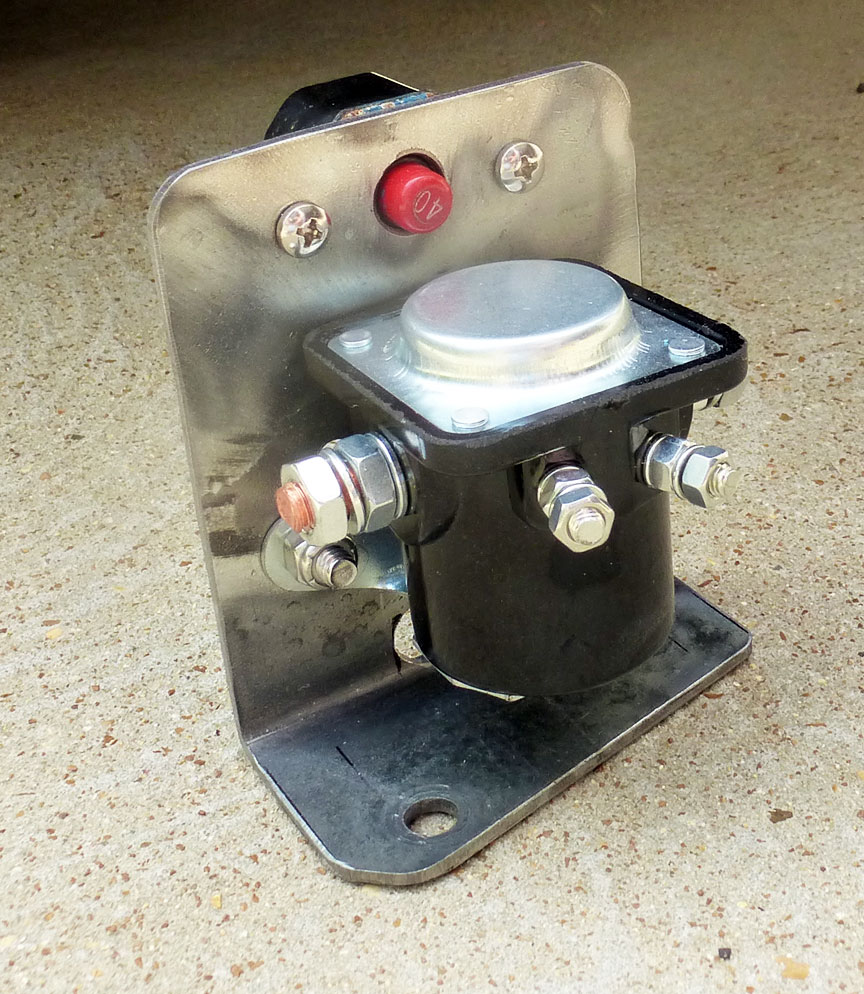
Painted another coat on many items.
Mocked up pad for "vibration absorption?" in motor mounts.
(Best guess now is boat will be 400 pounds lighter than last year.)
Click photo for larger image.
Click photo for larger image.
Click photo for larger image.
Click photo for larger image.
Click photo for larger image.
The absorption pad pictured is very heavy-duty belting used to transport coal in mines, etc. It's left over from another project -- exhaust-pipe flaps for my '81 Century.
4/26/14 --
Four new mouter-mount blocks have been cut out of 5/4 white oak.
Found date on beer can(?) shims -- "1987". BTW, date on DPO's carpeted plywood floor = Sept., 2003.
Decided to use "original" double-cable clamp in new cable trough.
Located and cut out floor section for access to the new battery tray on keel, between front seats. The access panel will be supported using "ledges" or a "lip" around the perimeter. Panel is a bit larger than WxD for ease of access to webbing belt clamp.
Drilled 2 one-inch limber holes in engine stringers. May insert 1" O.D. pvc coupling using epoxy resin to coat exposed wood. (What? Limber holes in a Correct Craft?)
Drilled one 1/2" hole for steering cable anchor in starboard engine stringer. I'll use some 5200 to "seal" the anchor bolt hole.
